Adding a Keyword to Your Monitoring Dashboard
Learn how to monitor your web pages for specific keywords. This guide shows you how to set up alerts for when critical content appears or disappears from your site.
1 Go to Your Dashboard
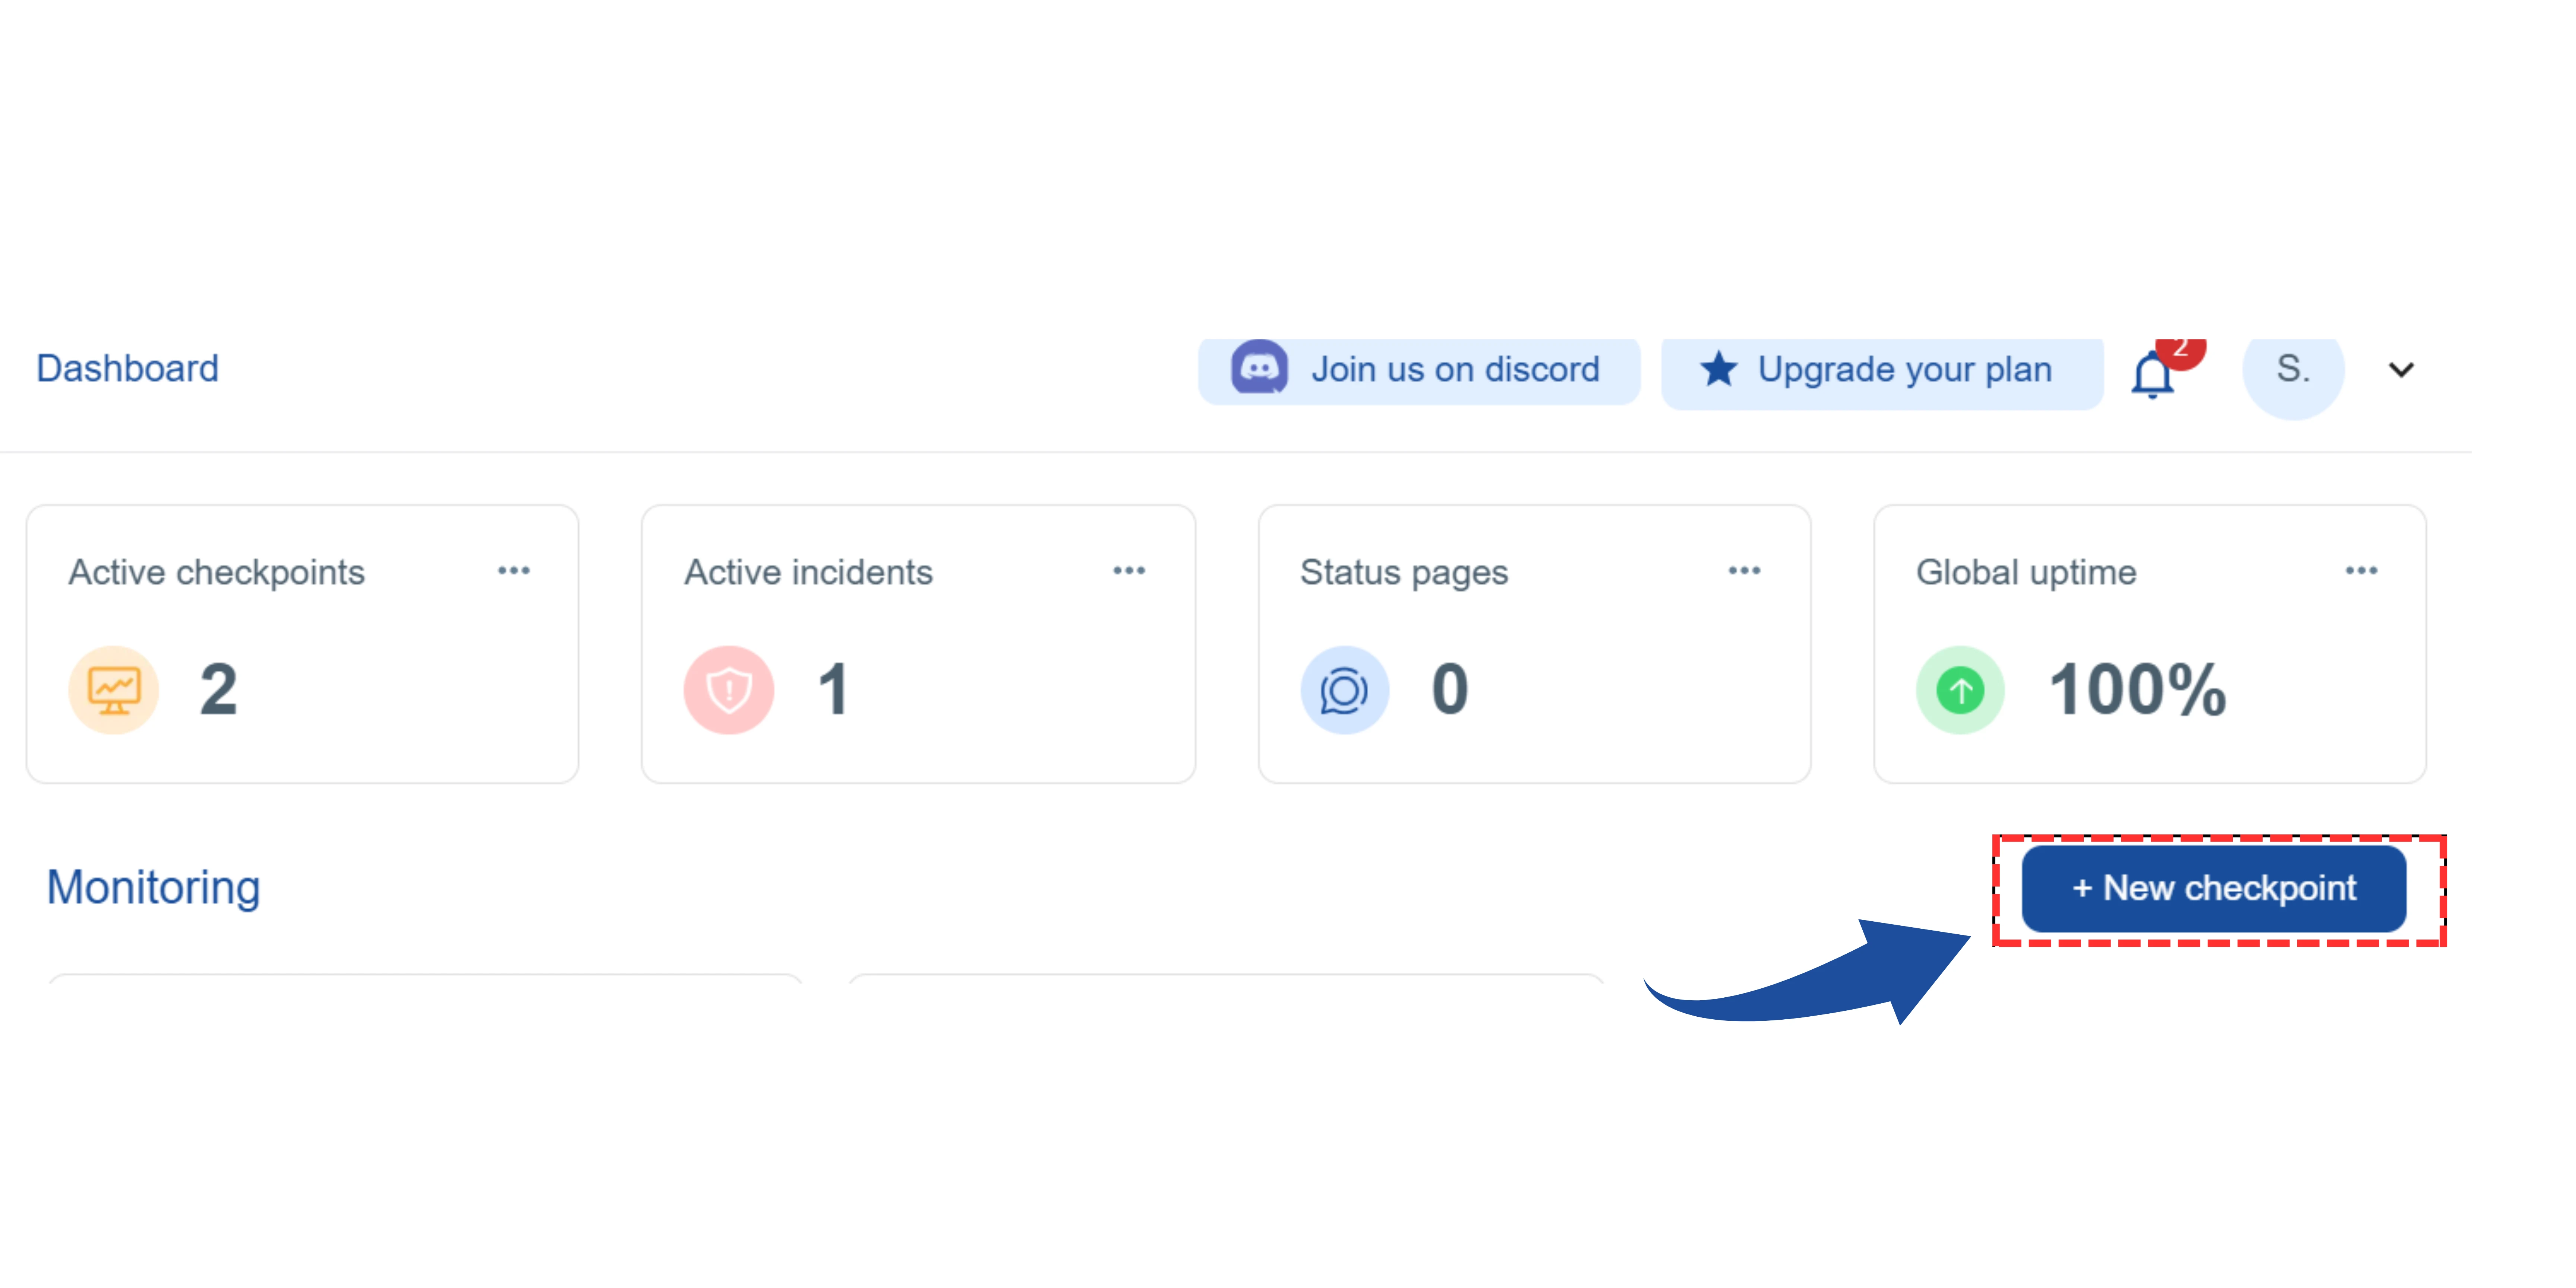
On your main dashboard, you will see the "New Checkpoint" button. Click on it.
2 Select the Checkpoint Type

You will be redirected to the"Add Checkpoint" page.

From the list of options, select "Keyword Monitoring".
This type of monitor checks your website for specific keywords to make sure they are present and tracks any important changes.
3 Name Your Monitor and Enter the Targeted Keyword
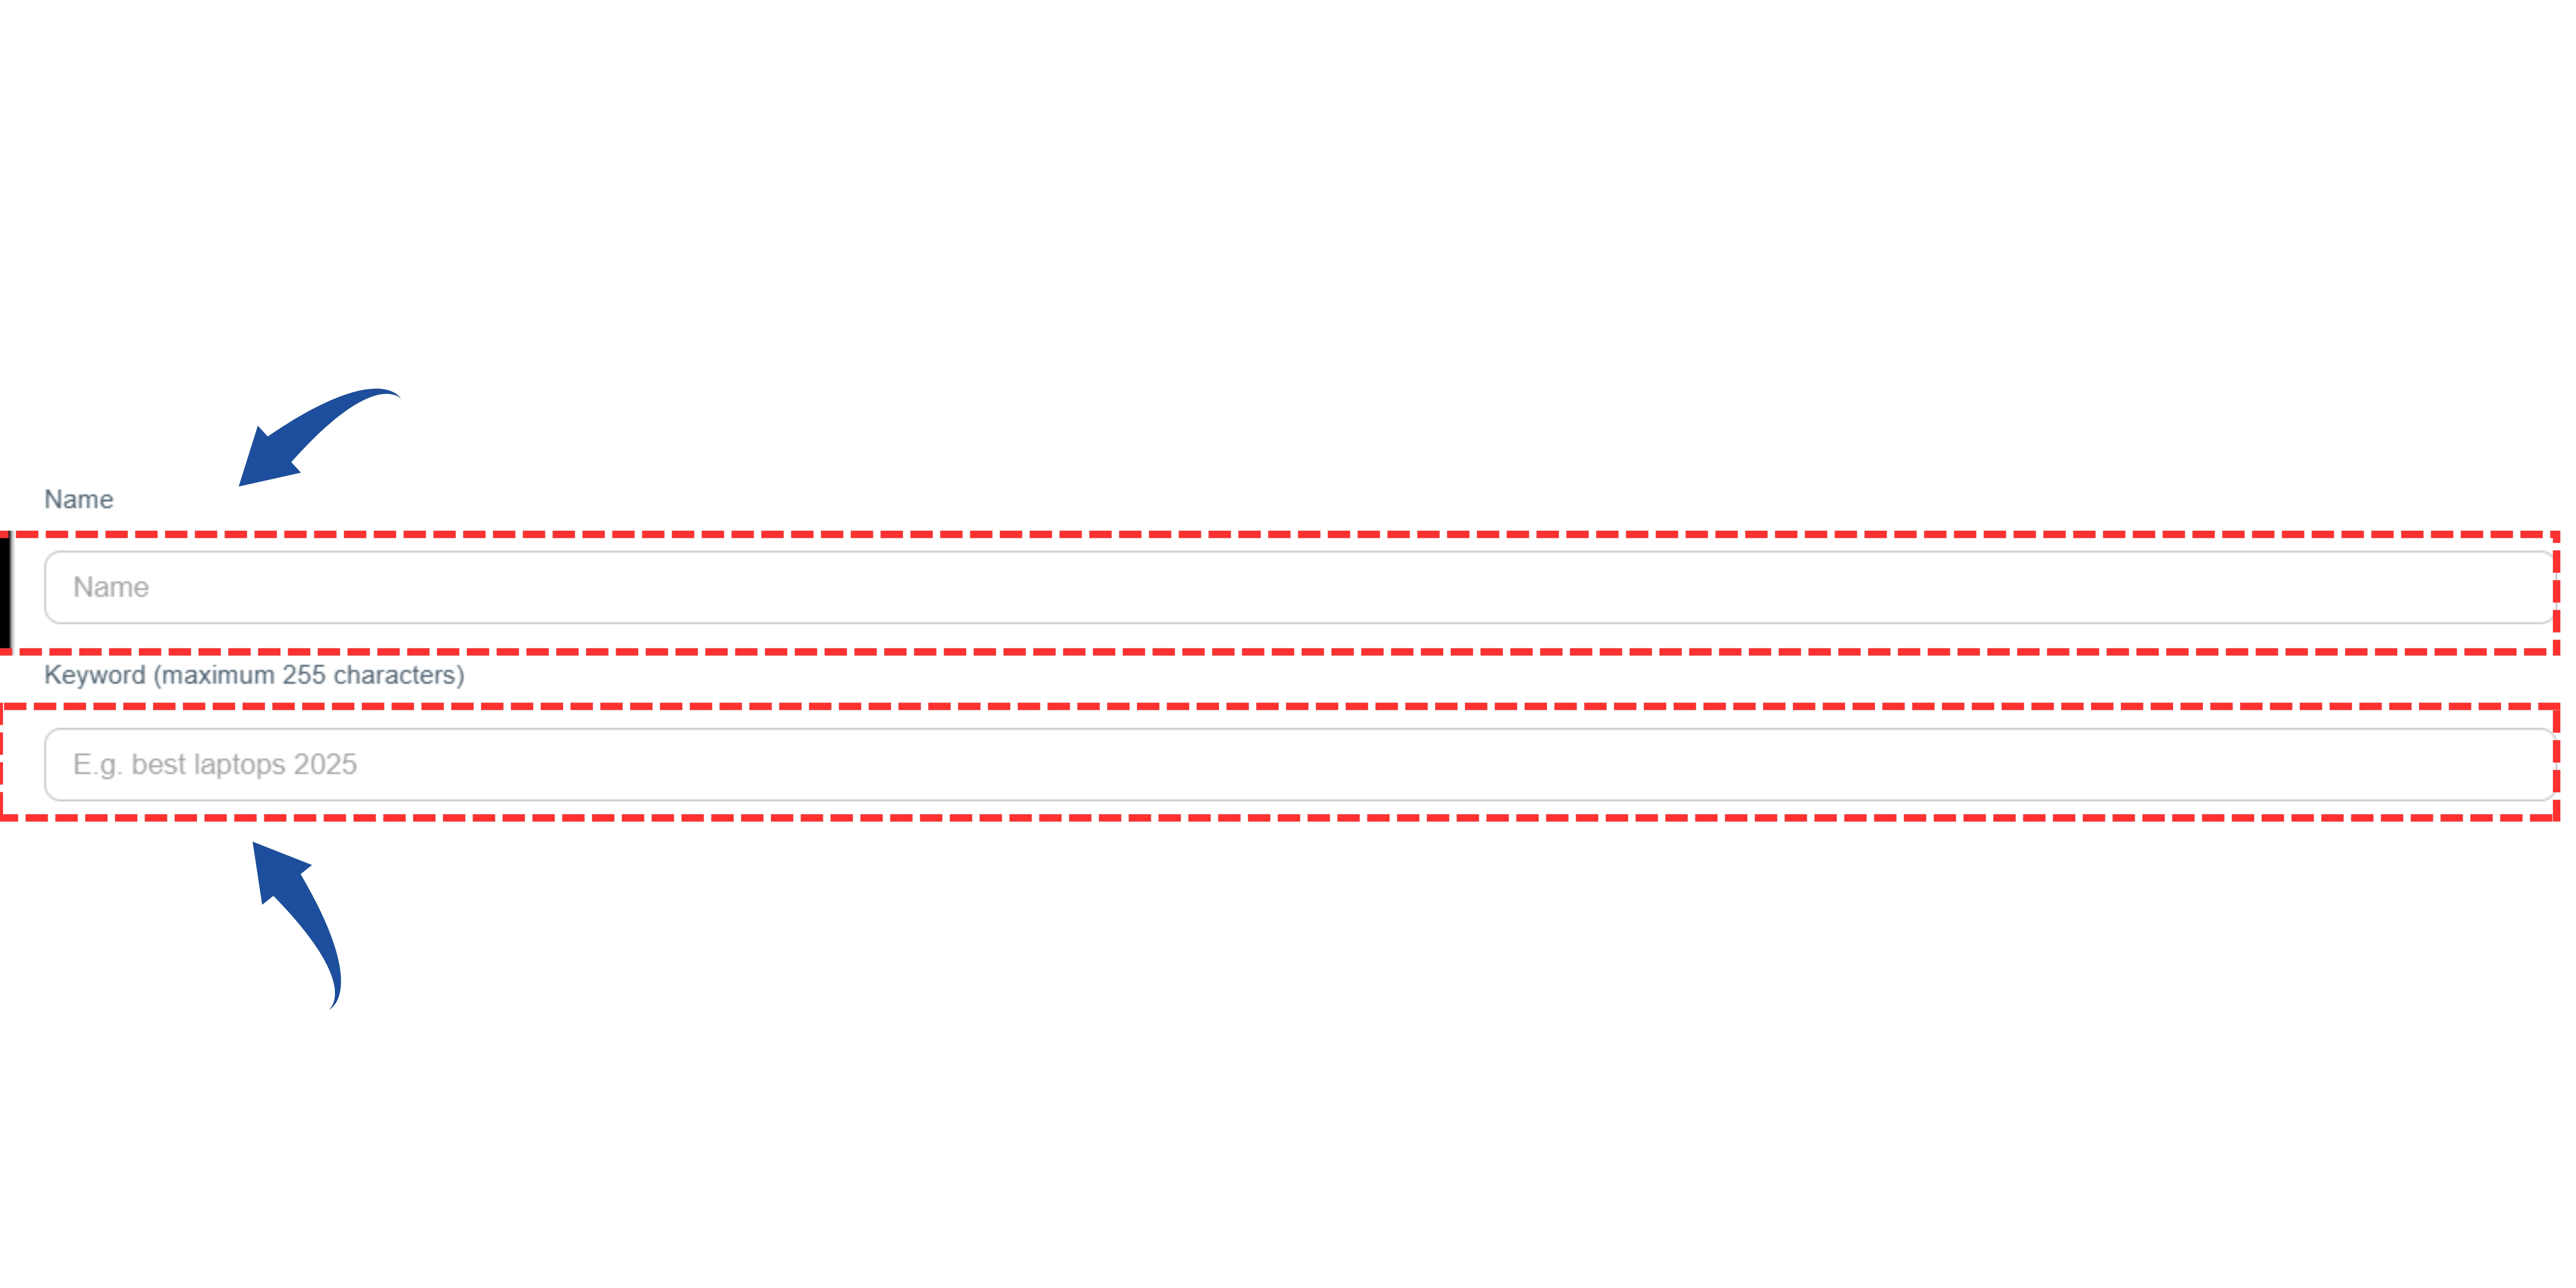
Give your monitor a clear Name so you can easily identify it later.
In the "Keyword" field, type the specific word or phrase you want to track (e.g., "best laptops 2025").
4 Enter the Website URL and Configure Keyword Check Options
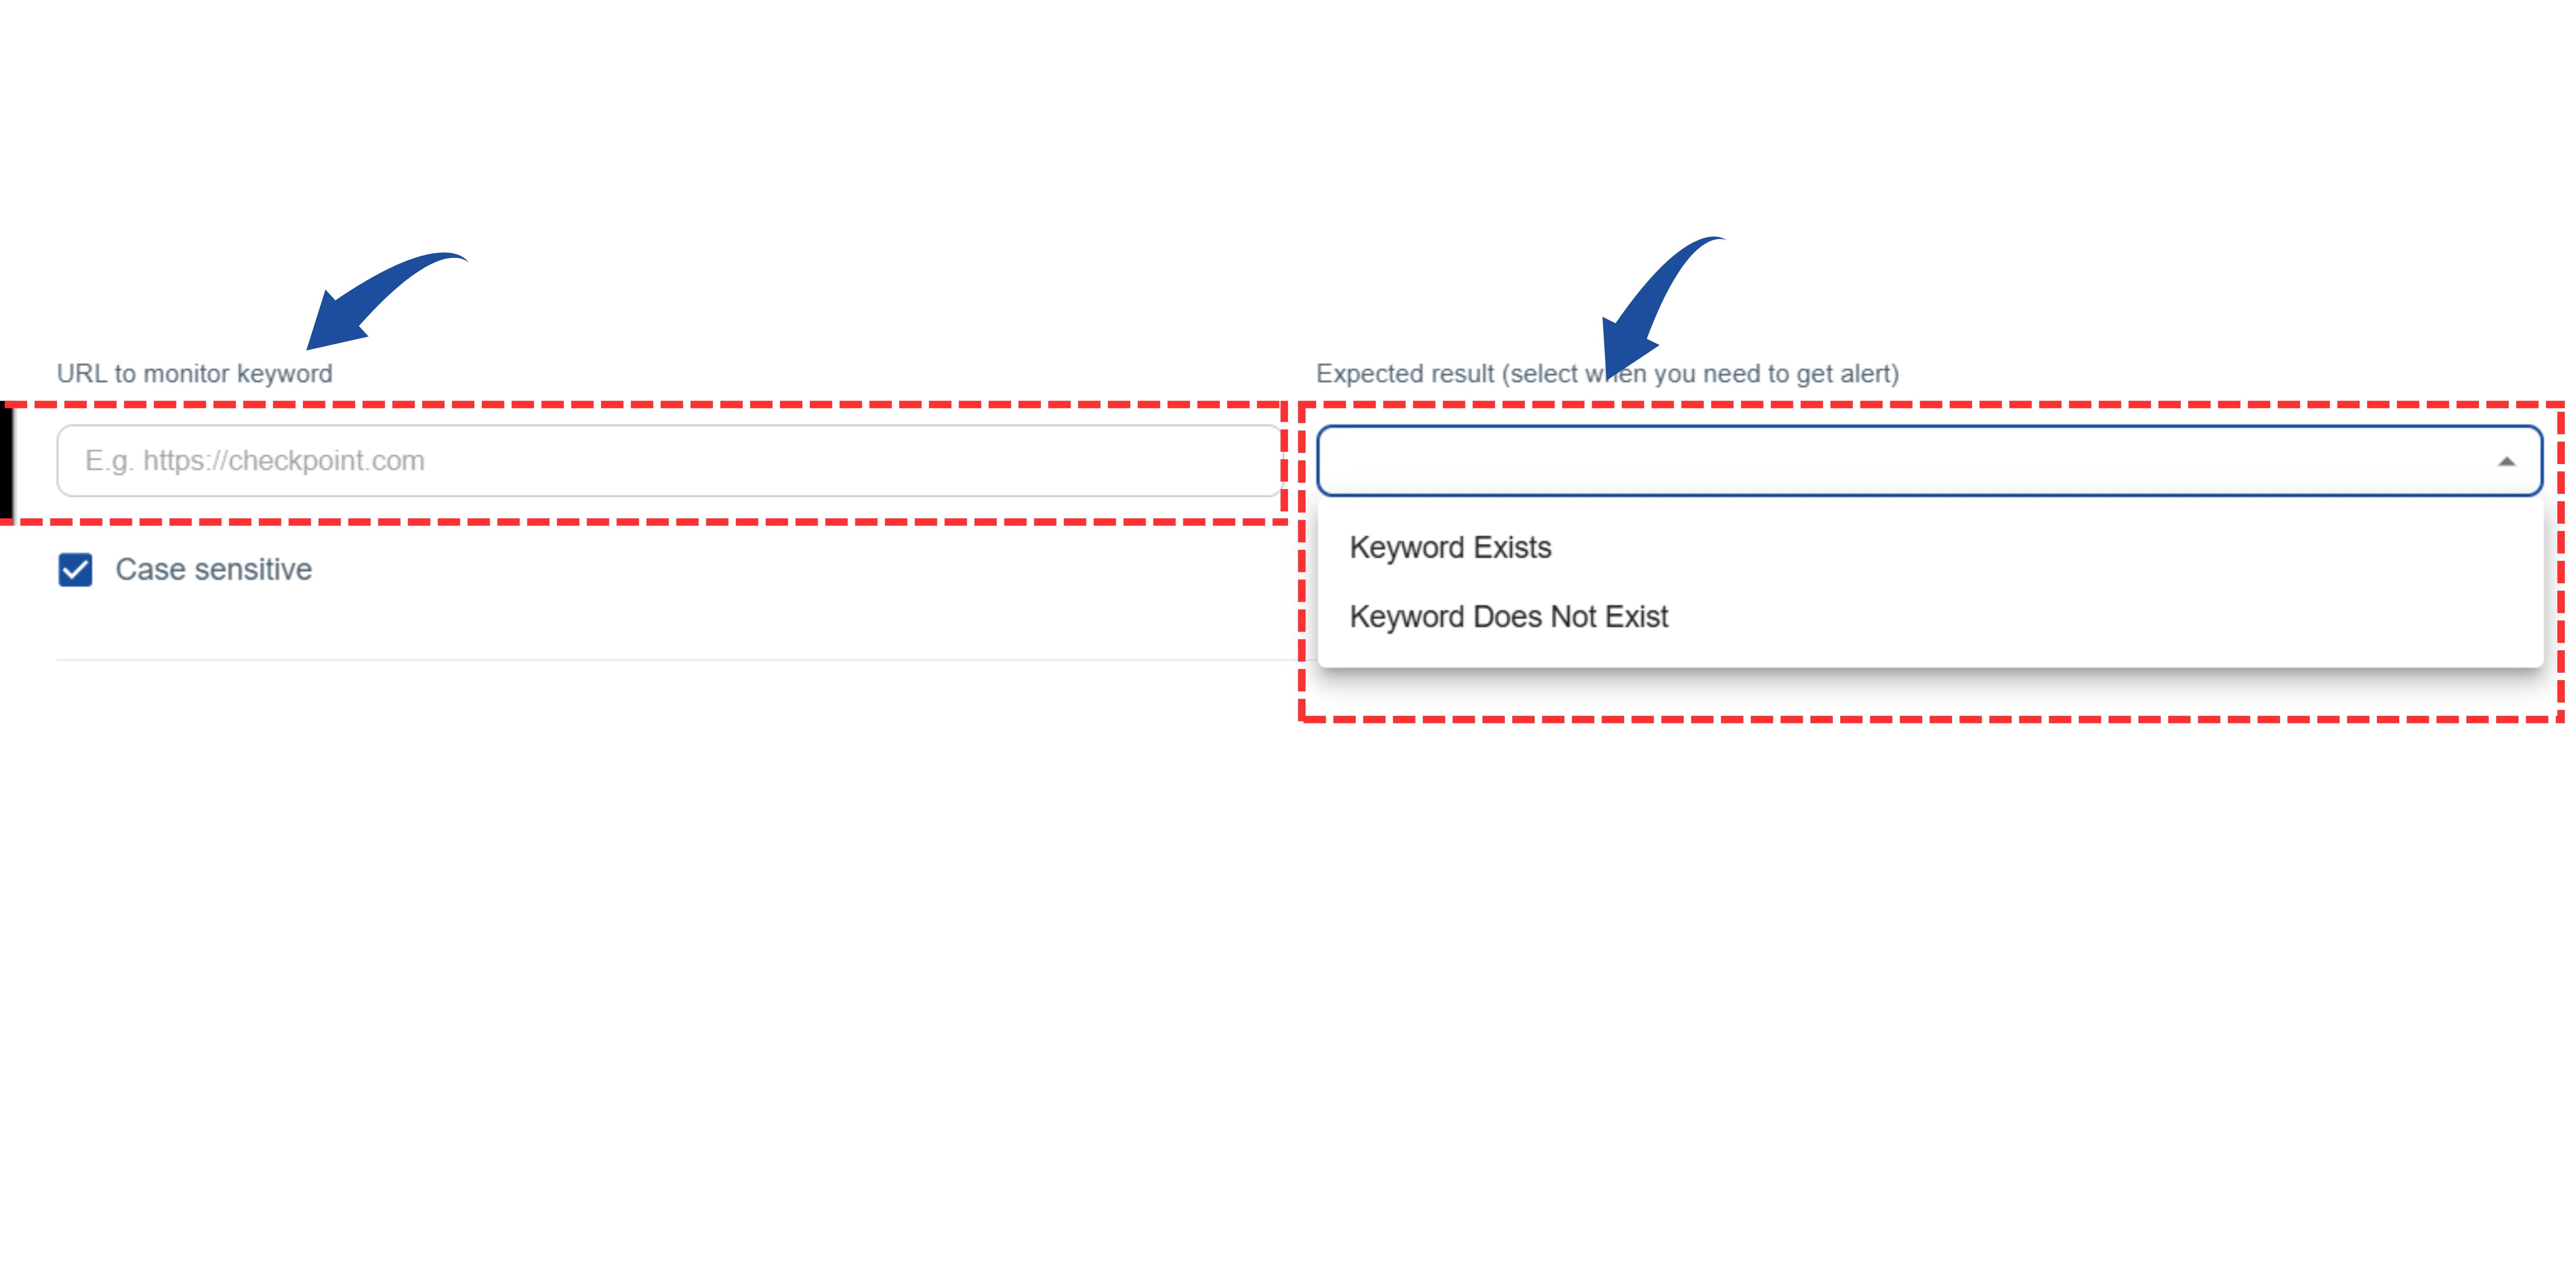
Enter the website URL
- In the provided field, enter the full URL of the web page you want to monitor for the keyword.
- Example: https://yourwebsite.com/your-page
Configure Keyword Checks Options
In this step, you will define the condition for the alert. You can choose to be alerted based on whether the keyword is found or not found on the page.
- Keyword Exists: Choose this if you want to receive an alert when the keyword IS PRESENT on the webpage. This is useful for confirming content is live.
- Keyword Does Not Exist: Choose this if you want to receive an alert when the keyword IS MISSING from the webpage. This is useful for detecting unexpected content removal.
5 Configure Monitoring Settings
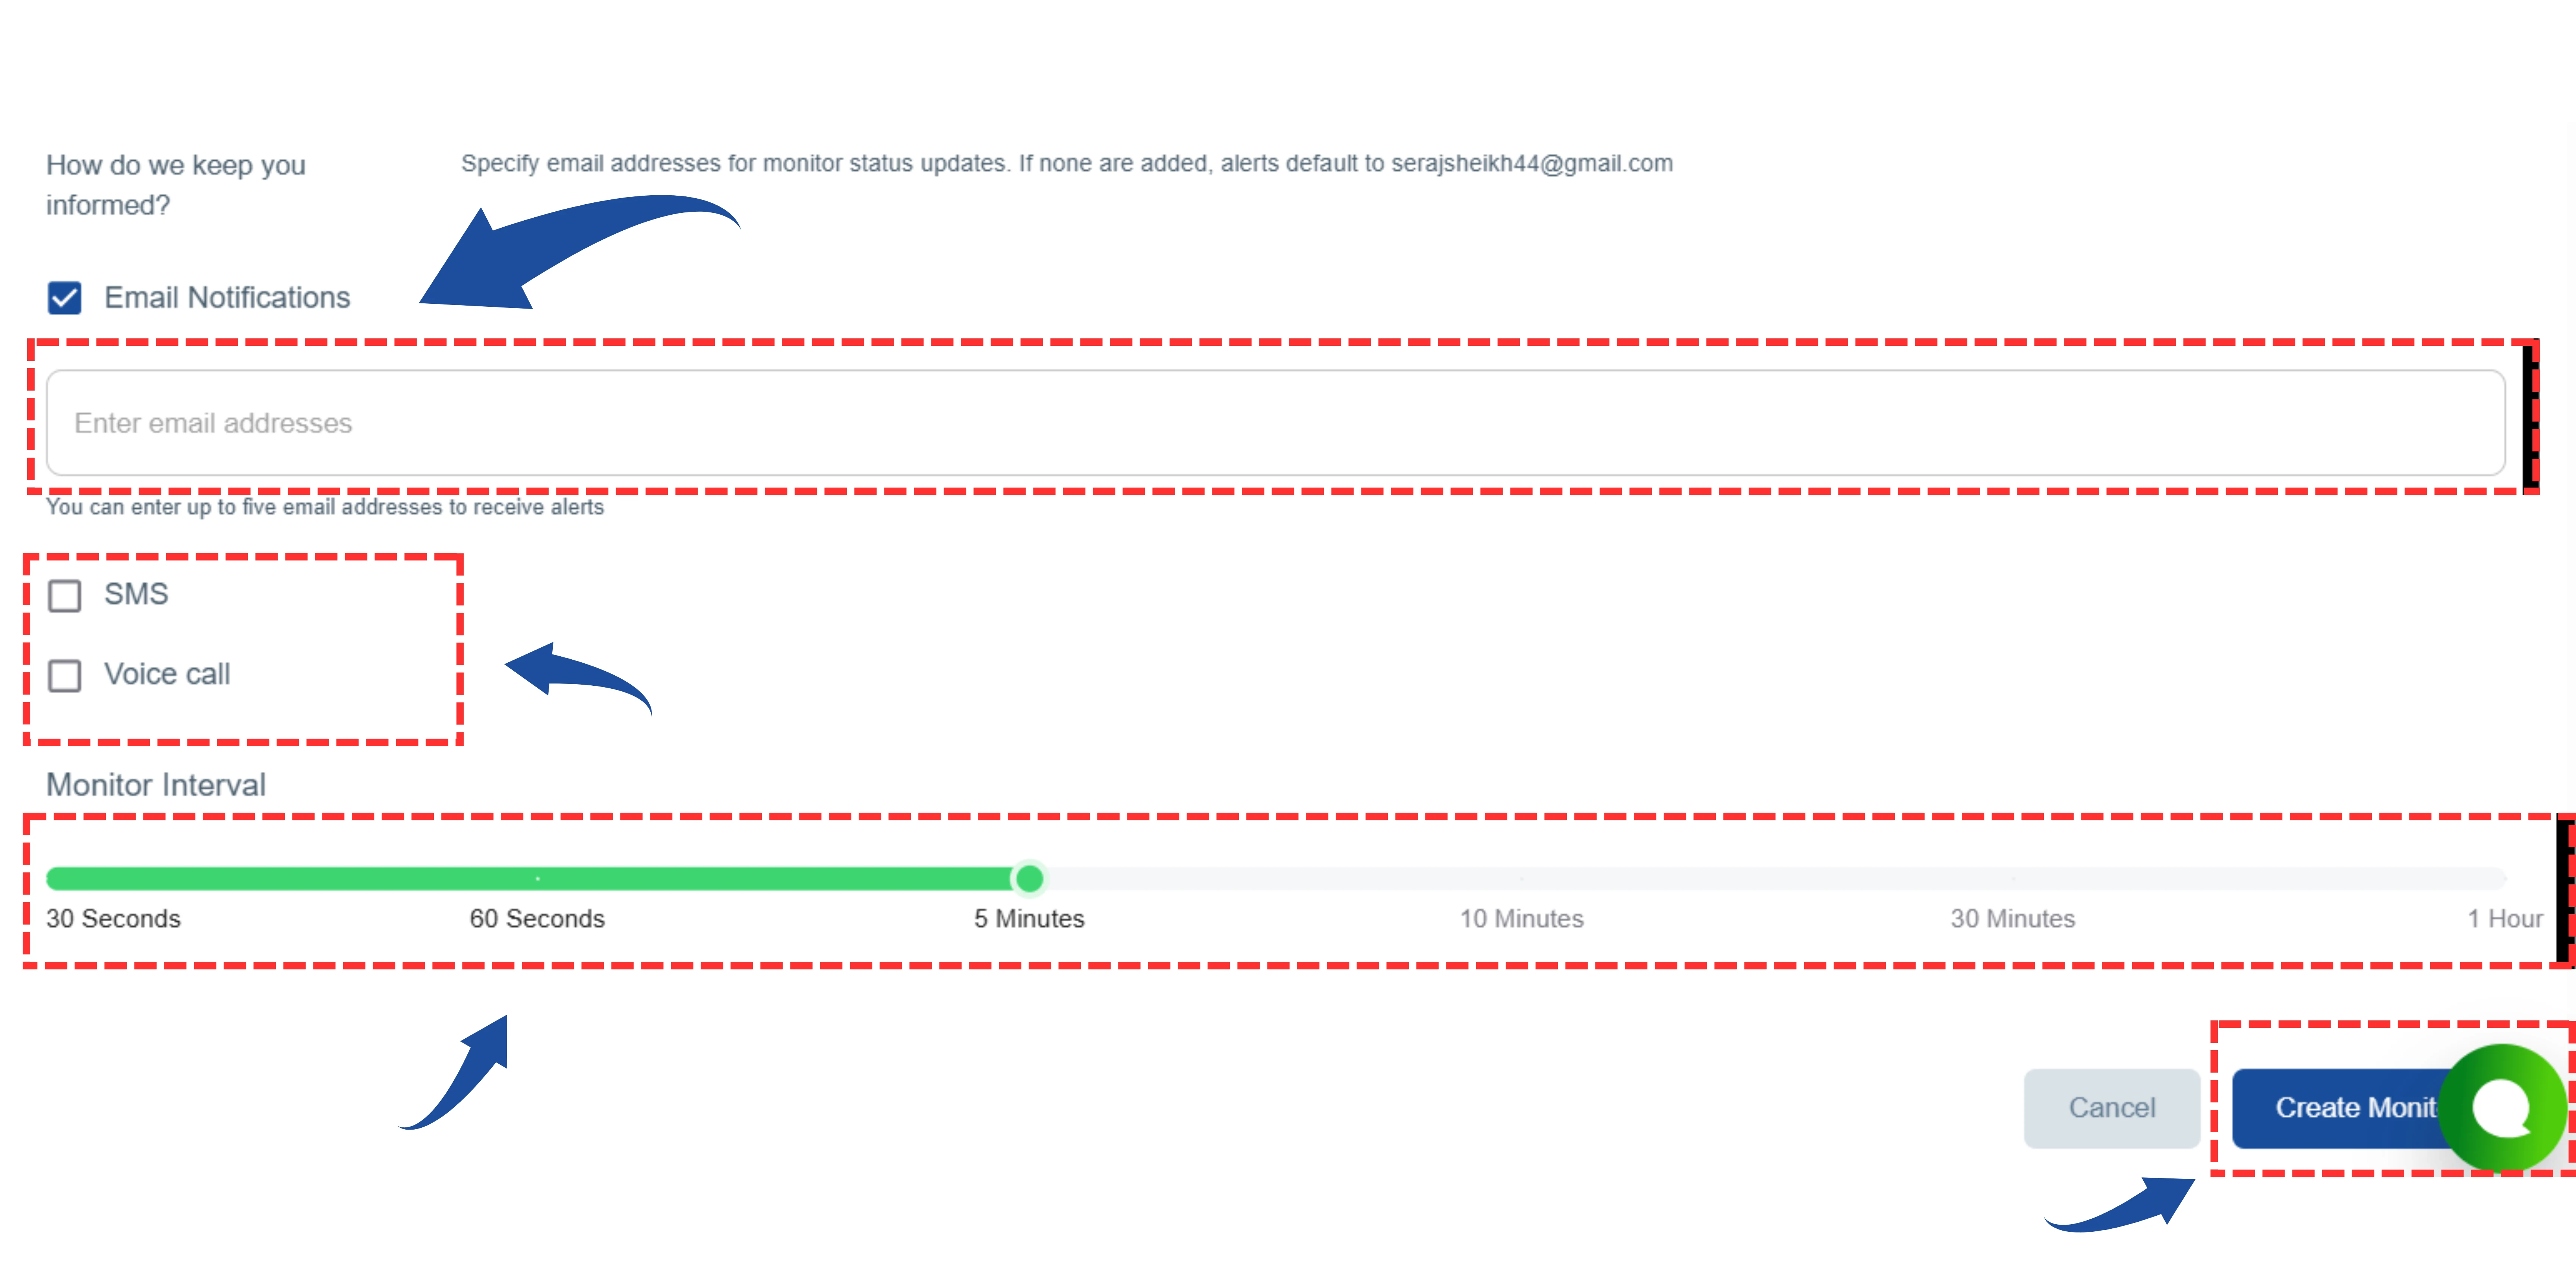
- Email Notifications: Enter the email addresses that should receive alert notifications. If you don't add any, alerts will be sent to your account's default email address.
- Alert Types: Choose how you want to be notified if a problem is found:
- SMS (Text Message)
- Voice Call (Phone Call)
- Under "Monitor Interval", choose how often you want the system to check your website for the keyword.
- You can select from options like 30 Seconds, 1 Minute, 5 Minutes, 10 Minutes, 30 Minutes, or 1 Hour.
6 Create The Monitor
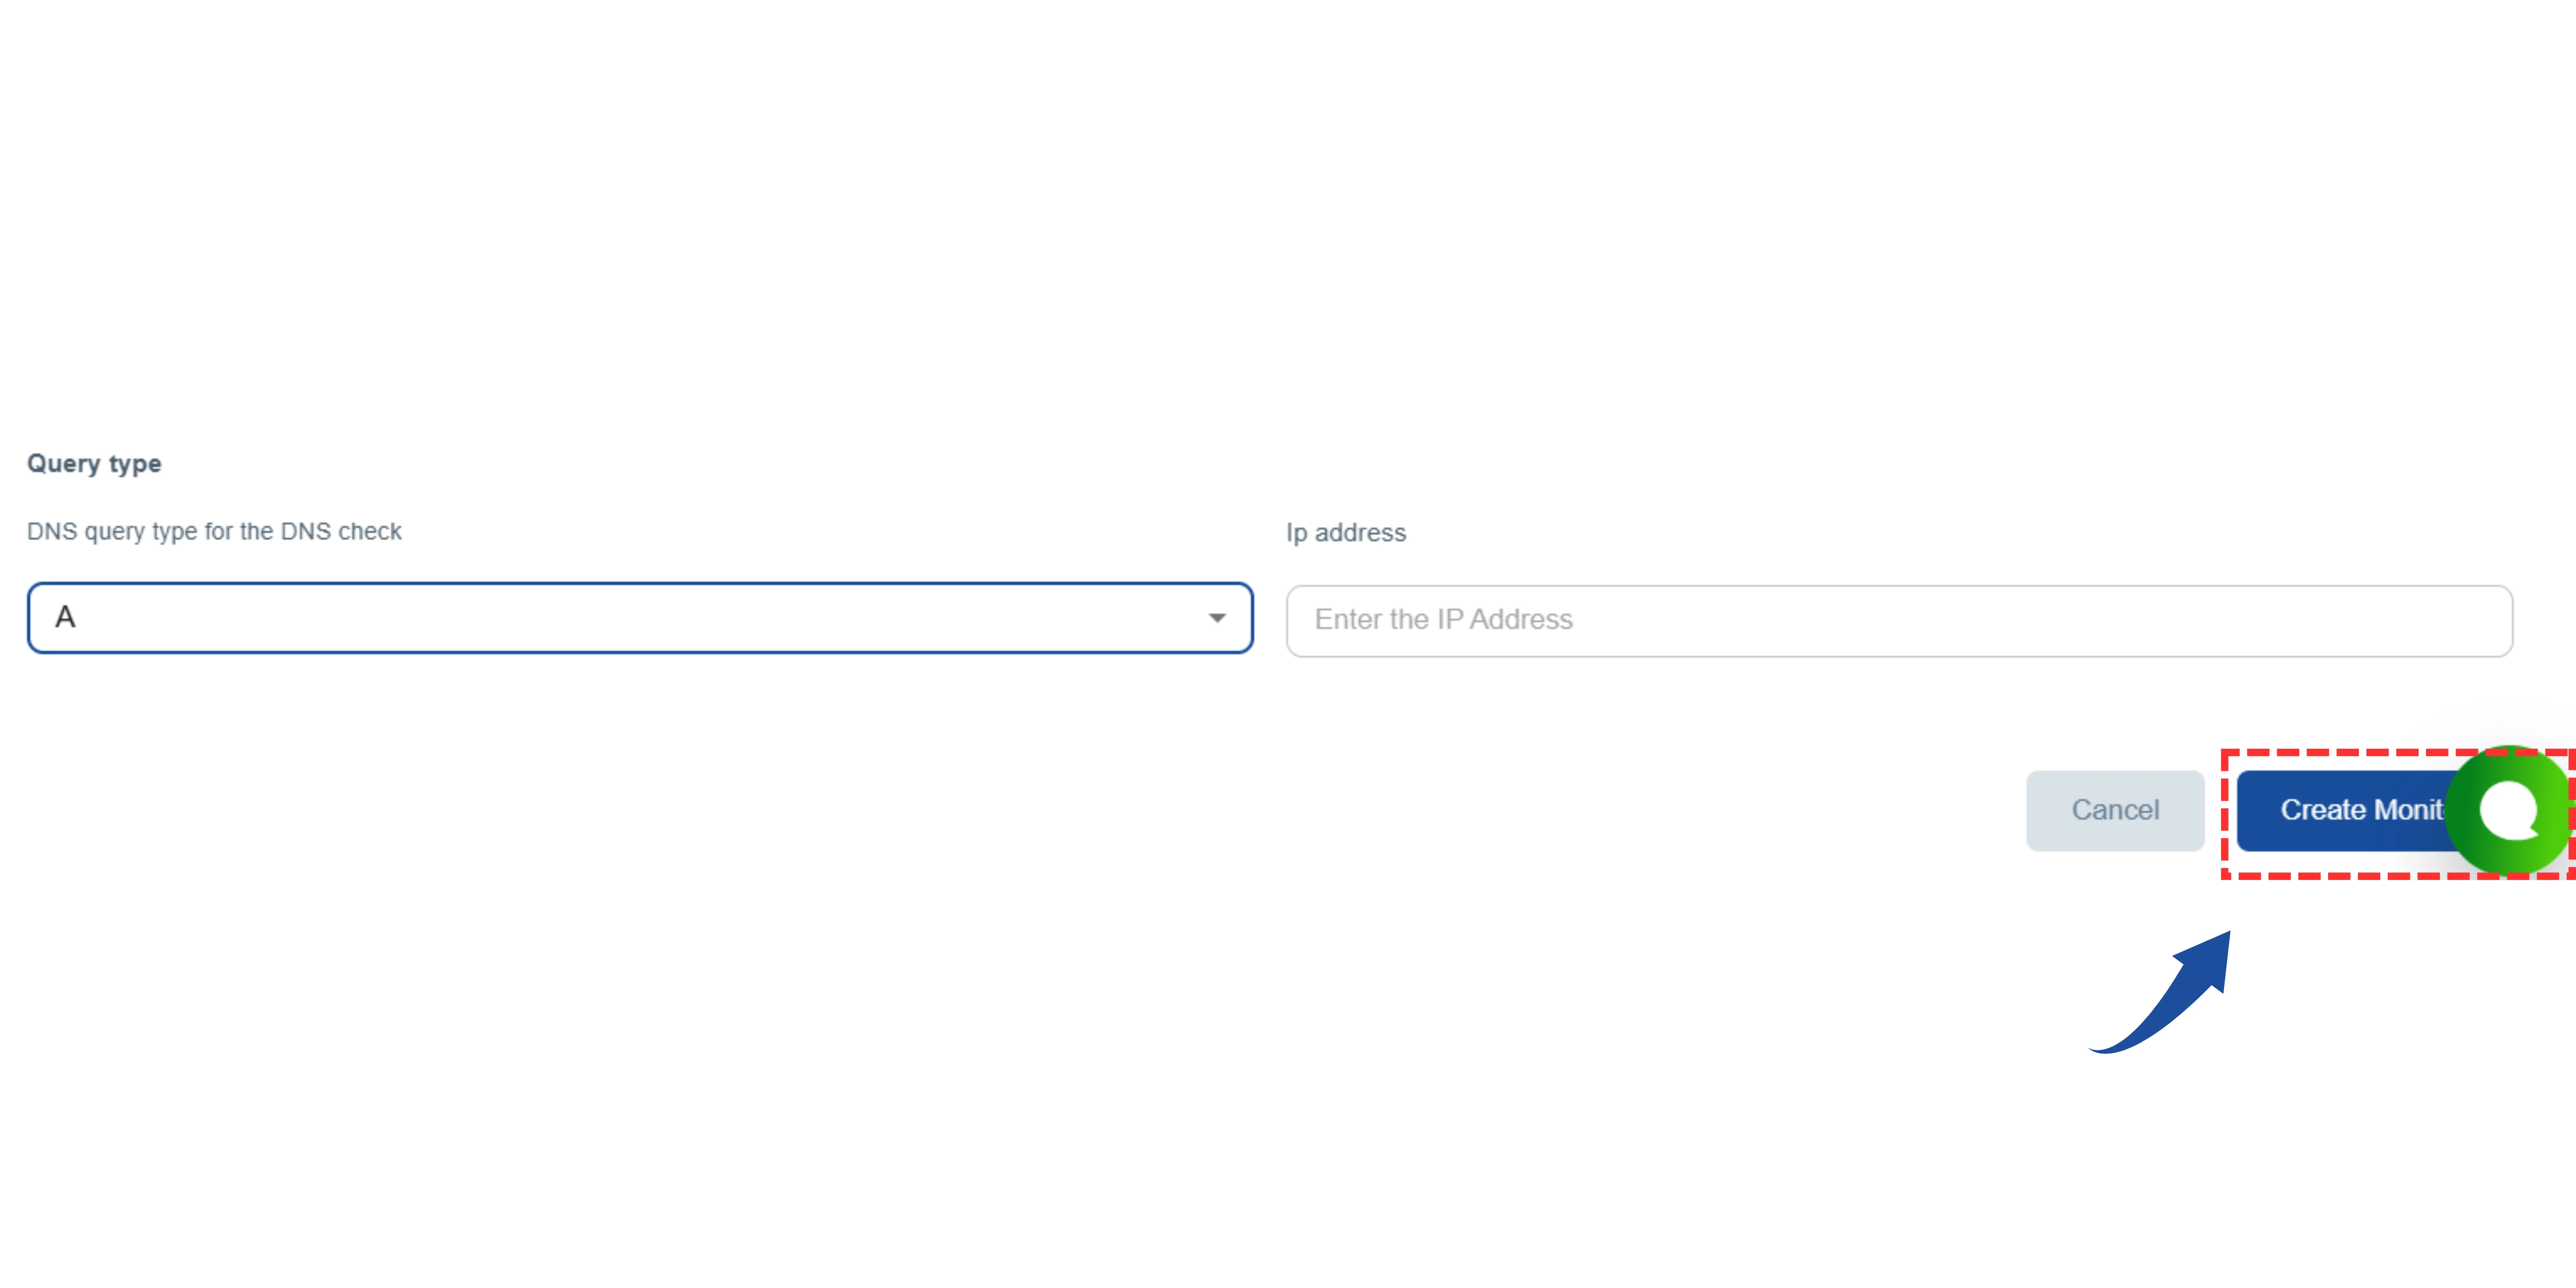
Finally, click the "Create" or "Next" button to save your settings and start the monitoring.